

Making Miso
Making miso is actually a relatively simple process involving few ingredients. The quality of the ingredients will be the thing that makes or breaks it. Here I will explain the process so you might try it at home. Alternatively, if you are visiting in spring, get in touch with us and we may be able to arrange an experience for you together with local people. The community makes miso together using the finest local ingredients prepared by the organic farmer arranging the event. This is, in my opinion, probably the finest miso you can get.
Ingredients: Soy beans, Kome-koji (fermented rice) and Salt
Cooking time: 4 hours
Active cooking time: 1-2 hours
Fermentation time: 1-2 years
Step 1: Boil your soy beans
These need to boiled for 3-4 hours. If you can easily mush them between your fingers then you will know that they are ready. When we gather as a community to make miso the farmer pre boils the soy beans for us in his outdoor garden before we arrive.


Next you will need to mush your beans. Traditionally this would have been done using a simple Japanese style pestle and mortar, we used a hand powered mincing machine to save us hours of work!

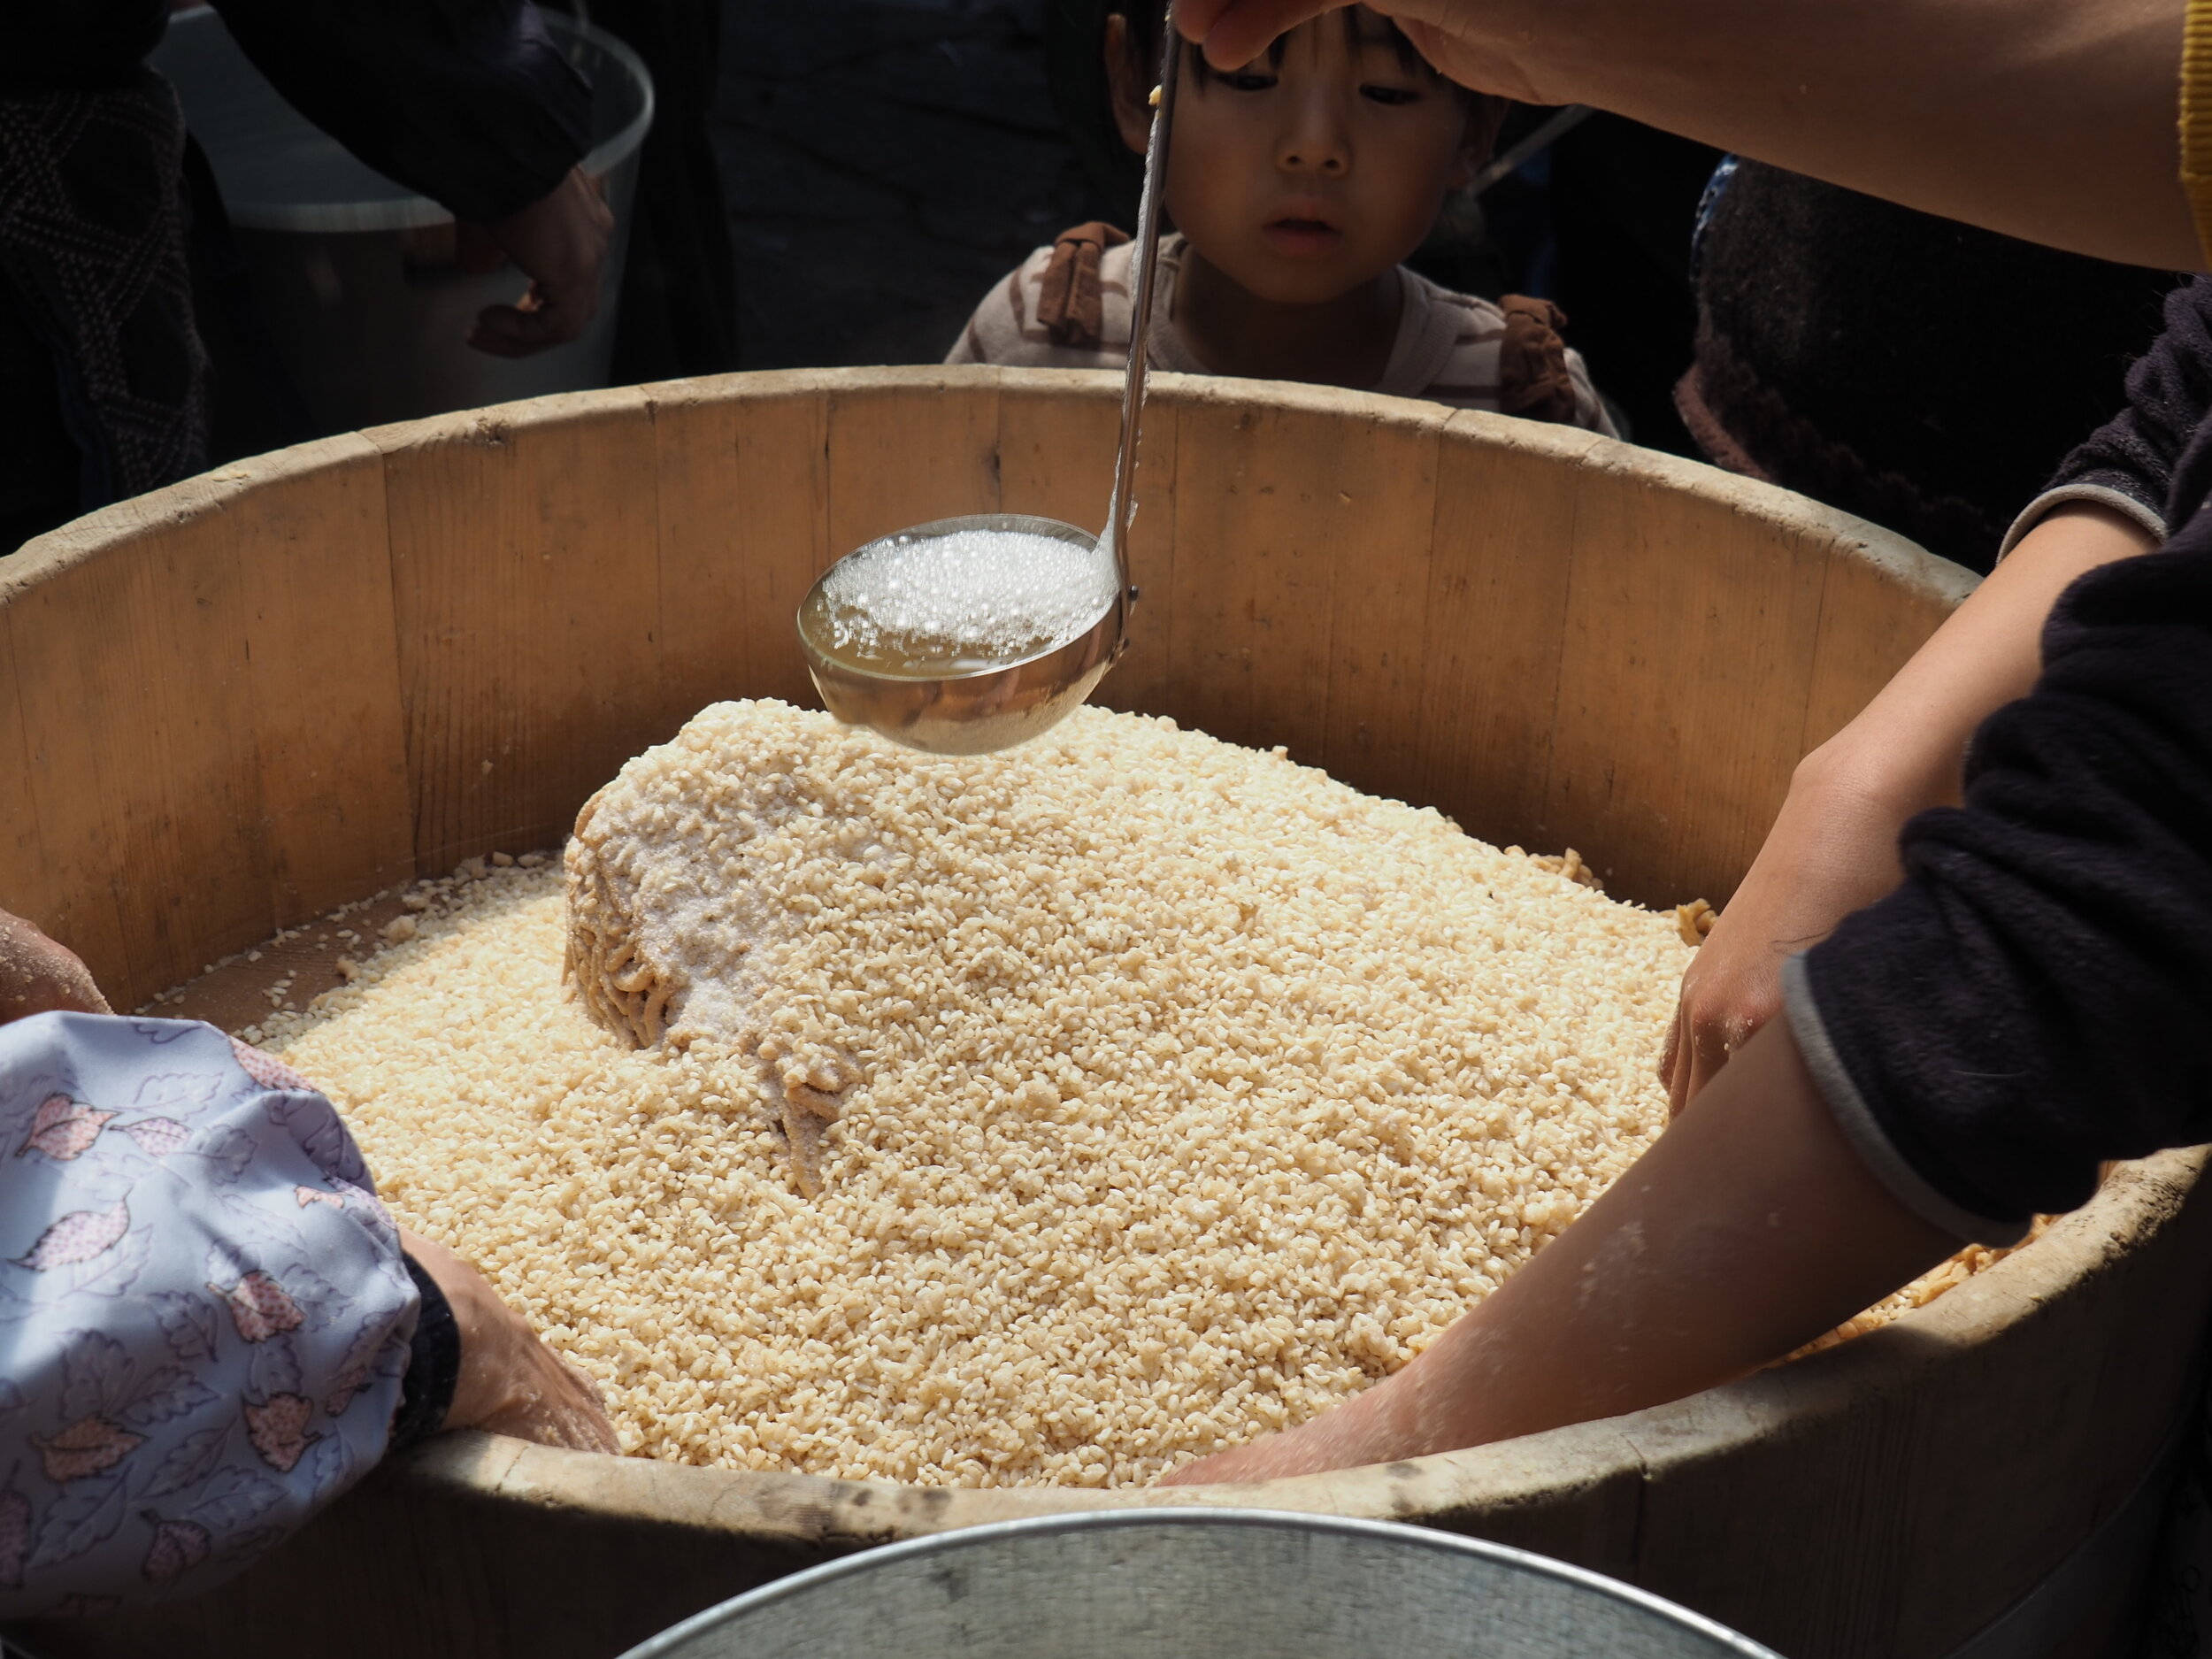
Next comes the kome-koji. This is the ingredient you might find most difficult to get your hands on abroad. The farmer prepares his own fermented rice a few days before the miso making begins. The ingredients are simply rice and koji culture. This is then mixed with salt on the day of the miso making. The amounts are very simple. A ratio of about 10:10:4 is used. That means 10 parts soy beans, an equal weight of kome-koji and then 4 parts salt. This is a typical Shinshu Miso recipe and they do vary all over Japan.

Now add a little of the broth left over from your boiled soy beans. Just a little bit to help with the mixing process.
Now mash it all together. No such thing as too many cooks here.

Mushed, formed into balls, thrown, slapped and generally punished until there is not air left inside, these balls of early stage miso and getting closer to the final product.


Lastly you have to jam and push your mixture into a container. The main point here is to make sure there are no air bubbles trapped inside which could mold. The more famous way of doing this involves throwing your balls of miso down with some force. It may look cool but my teacher assures me that this way of doing things only looks cool but has no functional benefits. It probably became popular when people made miso on a large scale and could actually reach the bottom of their containers. So they threw it down to remove the air bubbles.

Once you are done you will need to put a thick-ish layer of salt on the top of the miso, cover the salt layer with some clingfilm and then put a weight on top. The weight should be about half the weight of the miso you made. Then newspaper to lightly seal the top of the container. Let it rest for a year or two. Our teacher swears by two years, but others prefer just the one. It will mold on the top. But that is totally fine. Scoop it off and underneath is that beautiful umami rich paste that the Japanese consume daily! It may well contribute to their long lives.
This group miso making has not been offered to tourists or visitors before but our teacher welcomes it, so if you want to try it and are visiting in spring, contact us.
To finish we enjoy a potluck party where everyone brings a dish. The food is mainly vegan, very healthy and very tasty! You can also try the miso of the previous two years.
